
Welcome to the Snowflake Block Tutorial!
Part 1: Fabric requirements, cutting and piecing.
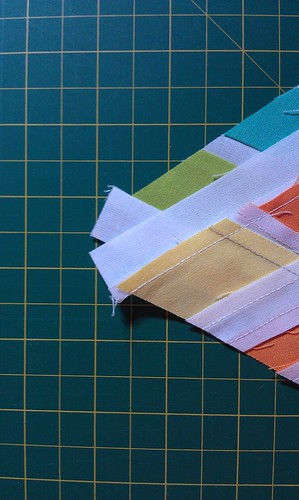
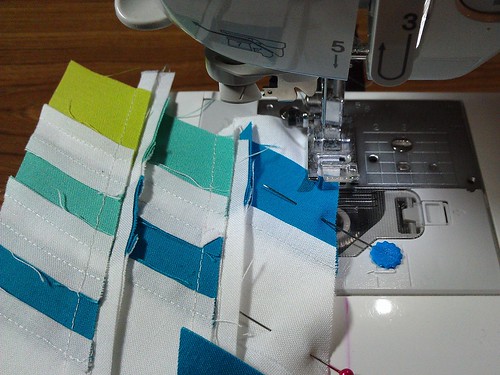
Part 2: Assembling the segments.
Part 3: Putting it all together.
About the Snowflake Block
This block was originally designed by Madame Parfait who does the most ah-may-zing blocks. She posted the "Rainbow Blossom" block back in October last year but wasn't able to post the tutorial.

Fast-forward to July 2012, when Penny Poppleton brought this block to my notice. She was trying to piece the block together using individual pieces. Quel horreur!
Penny said that since Madame Parfait hadn't yet posted the tutorial, and quite a bit of time had passed, she doubted it was ever going to see the light of day and felt okay with trying to work out how to do it herself.
At this point, I should point out that Penny is an Evil Enabler (tm), and knows all my weaknesses, including my tendency to look at a pattern and try to work out how to put it together as simply as possible.
I can't help it; I'm a computer programmer. Taking things apart to determine the way they work is what I do!
Result? A tutorial on how to strip-piece the "Rainbow Blossom" block.
Disclaimer
I'm not making any claims to ownership of the design of this block, nor am I selling this pattern/tutorial. I would ask that others do the same.
If you use this tutorial to make this block, I'd love a link back to this post (or series of posts), as well as a link to Madame Parfait's original post.
Render unto Caesar that which belongs to Caesar, right?
Finally, I've ended up calling it "the Snowflake Block" because that's what I think of when I look at it. And because I'm lazy and "Rainbow Blossom" has twice as many syllables as "Snowflake".
I'll be posting this in three parts since it's a little too big to post all at once. They'll be linked from this post.
Part 1: Fabric requirements, cutting and piecing.
Part 2: Assembling the segments.
Part 3: Putting it all together.
This is my first online tutorial, so please let me know if there are any questions, issues, or problems with my instructions!
Once you've completed this block, I'd love it if you went to my Flickr group for quilts and blocks made from my tutorials and posted your work there. It's lovely to see different people's interpretations!
This is a GORGEOUS block! I'm very bummed that I can't pin this post, since that's how I keep track of tutorials for later.
ReplyDeleteHi Sel.
ReplyDeleteI have seen on some website your "snowflake" and I loved it. Following the path I have come to your blog and I've seen the tutorial. Thanks, it's great.
I have a blog and pages of links to tutorials do things I like, and I've made a link to your tutorial.
Thanks again and greetings from Granada, Spain, in my blog "Patchwork from the Alpujarra"
@Lee it pins ok for me?
ReplyDeleteI love love love this block! I've pinned it to my "Quilty Goodness" board on Pinterest (with proper credit, of course!). Feel free to follow me if you'd like: http://pinterest.com/lipglass/quilty-goodness/
ReplyDeleteLove this block - will have to try it!
ReplyDeleteThis is really beautiful
ReplyDelete